Volume loss
Non-contact volume loss measurements
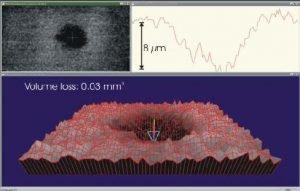
Volume loss describes the amount of material lost on a surface due to abrasion, erosion or other types of wear.
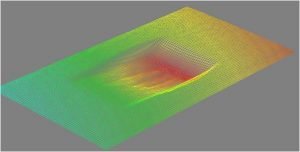
NOVACAMTM 3D metrology systems measure volume loss directly and with micron precision as follows:
- The worn region of the sample and the intact region around it are scanned.
- A reference plane is constructed for the intact surface.
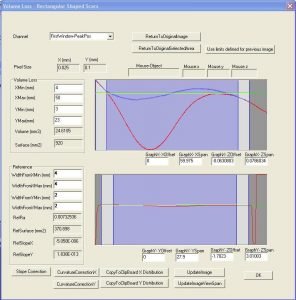
- NOVACAM Volume Loss Application software calculates volume loss from the differences between the interpolated reference plane and the actual worn surface.
The surface measurements form a 3D image for easy visual analysis of the surface wear. Materials may be reflective or nonreflective, smooth or rough, stationary or moving. See more on what we can measure.
Advantages of system design that is modular & fiber-based
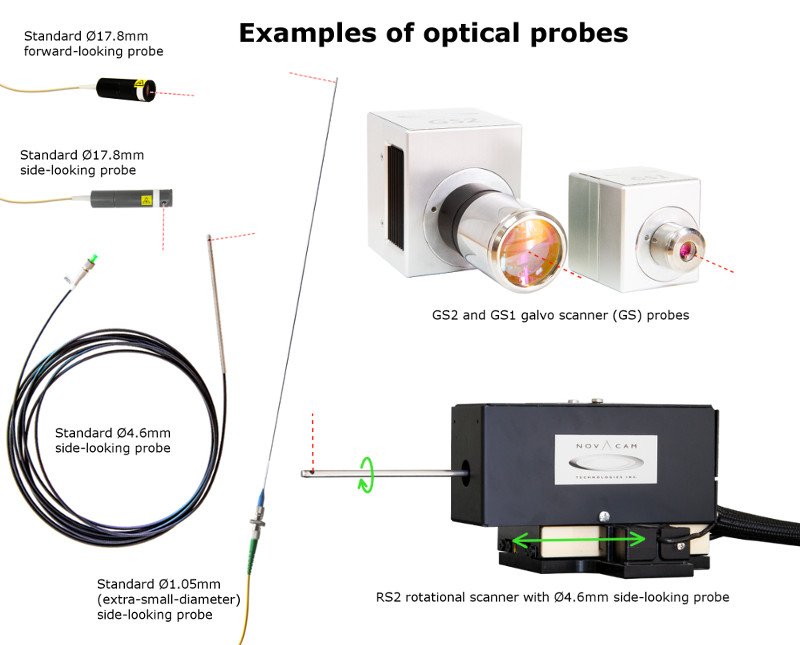
NOVACAM systems are modular and fiber based, meaning that the scanning optical probes are connected to the system interferometer with an optical fiber that can be several meters long. Thanks to the unique combination of Low-coherence Interferometry technology and fiber-based design, the systems offer significant advantages to our clients. These advantages include:
- Configuration versatility for both in-process and benchtop inspection
- Support for automation
- Ability to acquire long profiles
- Ability to measure inside small-diameter tubes, bores, etc. See inspection in hard-to-reach spaces
- Ability to measure surfaces with steps, grooves, channels, holes, and other high-aspect-ratio features
- Ability to scan surfaces that are reflective or nonreflective, smooth or rough, stationary or moving
- Ability to measure GD&T even in extreme temperatures or in radiation. See inspection in hostile environments.
NOVACAM probes come in many designs and models, which include standard or small-diameter probes, as well as rotational scanners and galvo scanners – to satisfy the majority of high-precision inspection applications.
Dimensions of scanned objects
NOVACAM 3D metrology systems scan objects as small as few microns in width and there is no upper limit on object size. See example below.
Measuring surface wear on a 1.2m-diameter metal drum
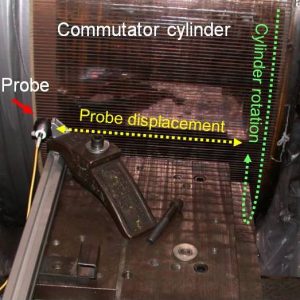
The surface of an electric commutator, in the shape of a rotating 1.2m-diameter metal cylinder, was acquired to determine how much its curved surface had been worn away by abrasion from metal brushes.
- The damaged commutator was rotated on its horizontal axis (see green path on photo), while the front-looking non-contact optical probe was slid back and forth along the cylinder side (yellow path) to acquire the surface.
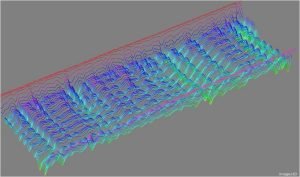
- The acquired long profile data was programmatically “unwound” to produce a flattened image of the commutator surface, which shows wear from brush abrasion. The amount of material worn away was calculated.
Application for Volume Loss Calculation
NOVACAM Volume Loss application processes the acquired surface dimensional data to determine volume loss from abrasion and wear:
- with micron precision
- on samples and components of various shapes and sizes.
Related links
Download application note “Volume Loss Measurement” [2 pages, PDF, 0.7 MB] for more details on this application
Contact us or request free sample analysis to see if NOVACAM 3D metrology systems are suitable for your application

